How To: Edit Your Channel Layout
Want to know how to edit your channel layout? Check out the information below:
Step 1: Finding Channel Layout
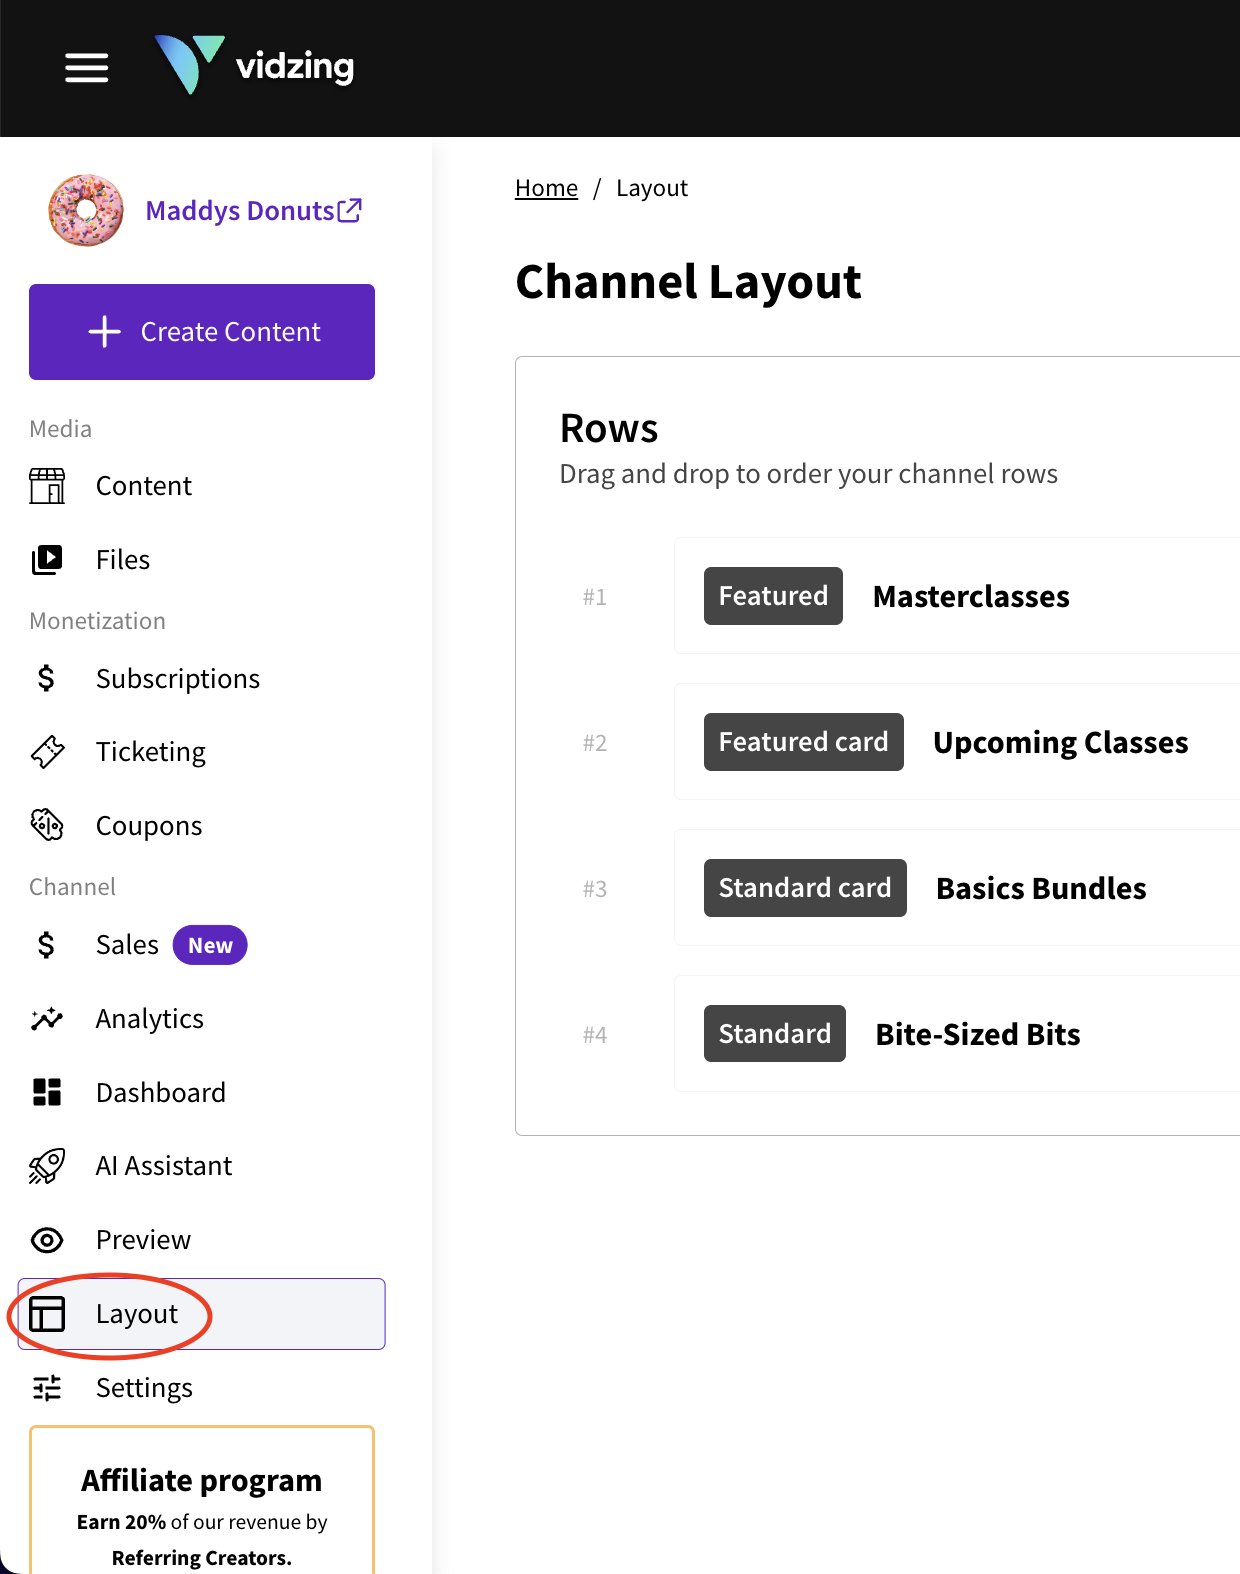
Access the Creator Portal Dashboard and click on 'Layout', found in the 'Channel' menu on the left hand side.
Step 2: Changing the Order of Rows
Option 1: If you have a small number of rows, or you only need to make small changes, the drag and drop option is best.
Simply click and hold on the desired row, and drag to its new row positioning. No need to worry about saving, it will auto save for you.
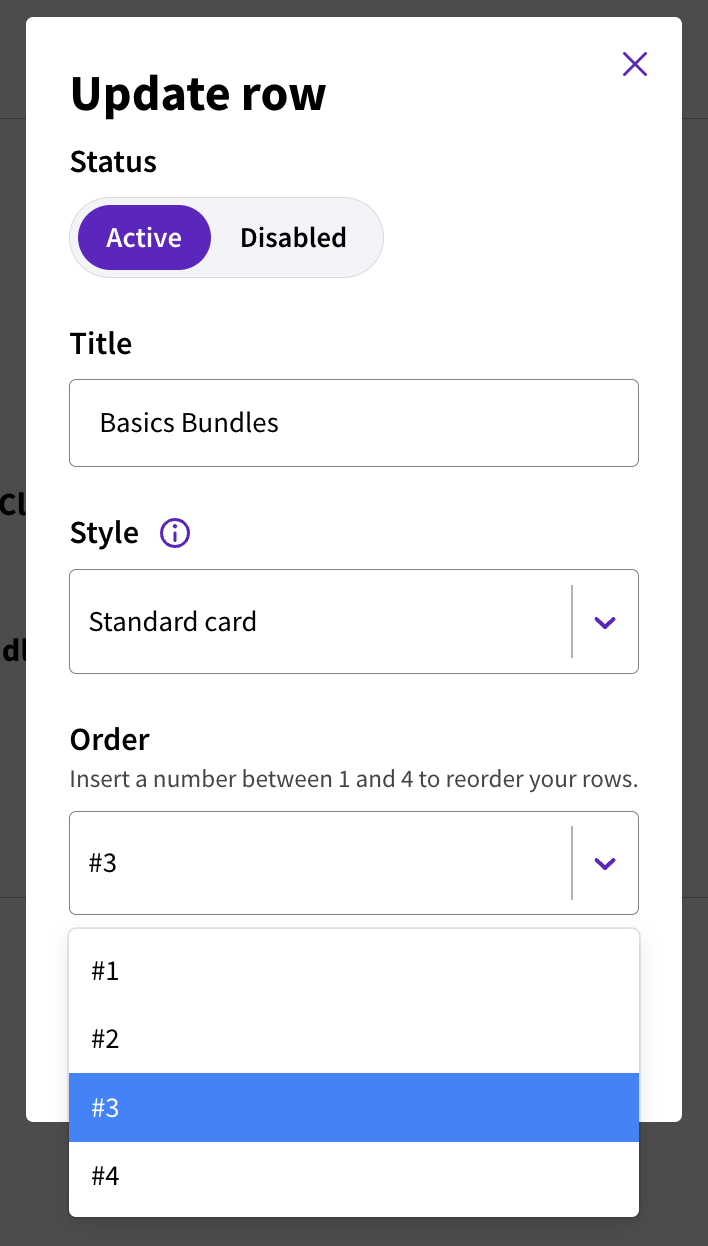
Option 2: If working with a larger number of rows, the most efficient way to re-order is to click on the number row (e.g. #3).
This will open 'Update row', where you can select or manually input the new position for the row under 'Order' (see below). Make sure to click 'Save' to ensure your row updates.
Step 3: Changing the Style of Your Row
To change the style of your row, click the three dots to the right hand side of the row in Channel Layout.
This will take you to 'Update row' (as above), where you can change the 'Style' of your row.
Want to know more about row styles? Check out this FAQ here,
Need more help?
If you encounter any issues or need further assistance, please start a live chat and we will get back to you as soon as possible!